

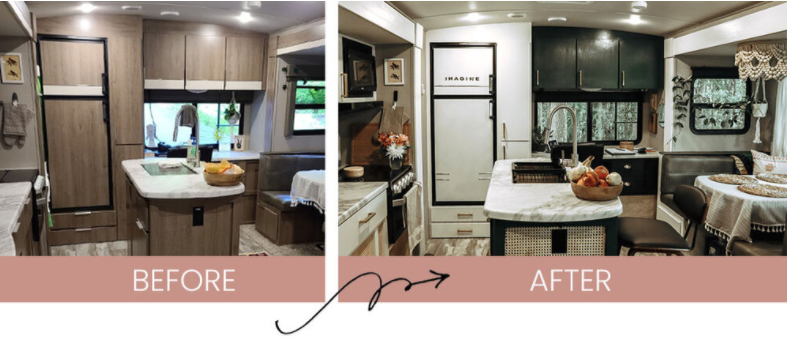
Does anyone remember my last blog post where I said, and I quote “I wish I had an all white rig with warm wicker and boho gold accents…but that it just doesn’t make sense right now because we purchased our 2020 Imagine 2670mk brand new.” Or something like that? I also mentioned that “because of this, we agreed (aka Jen “compromised”) that for the foreseeable future (aka until either the rig or Eric start to wear down) … that we would maintain the integrity of the interior as much as possible.” You know … something like that. Well, I am going to have this blog licensed as an official channel for manifestation because it seems like the second after I hit publish on that last blog, Eric said those magical words I had been waiting to hear … “If you think it’s a good idea to paint, I support you.” And even though I wasn’t sure myself if it was a good idea to paint, anyone that knows me is nodding their head like yep, she painted. Y’all. I think I was right.
You might have found yourself here looking for inspiration on what to do with that refrigerator in your RV. Can you paint it? Should you paint it? Should you have one custom built for you because you’re super extra and nothing else will do? Have I had every one of these thoughts? Absolutely, I have.
Like most projects, I start with a vision that usually fails midway, and then I spend more money and time on achieving a back-up version of the original vision. It’s pretty much my mantra aaaand it’s pretty much unavoidable because as much as I love to plan, I am equally compulsive and the second I get the green light to do ANY-THING, I don’t think twice and just do. Welcome to my blog.
So, staying on trend - before getting the green light from Eric to paint, I spent a lot of time on the vision. I knew that I wanted white cabinets with gold pulls in our rig and so once the project was approved, I proceeded to paint and install everything gold. (But Jen, you said you always mess up…) Here’s where the problem occurred.

RV FRIDGE MAKEOVER RETRO INSPIRED - SUPPLIES
Here’s what I used:
Rust-Oleum Universal Bonding Primer Rust-Oleum Appliance Epoxy Rust-Oleum Lacquer, Clear Gloss
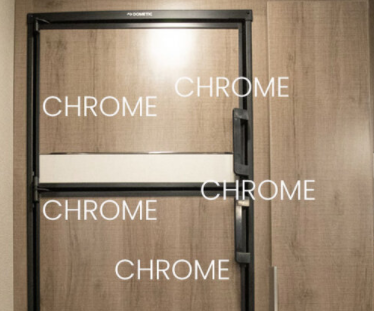
Chrome Accents: Cowles Universal Body Molding Assorted Chrome Letters
This project was surprisingly easy! The hardest part was figuring out how to remove the panels from the refrigerator doors. If you have this same type of Dometic fridge, then this video may be helpful.
Once I removed the panels and had a safe space to spray paint, here’s what I did:
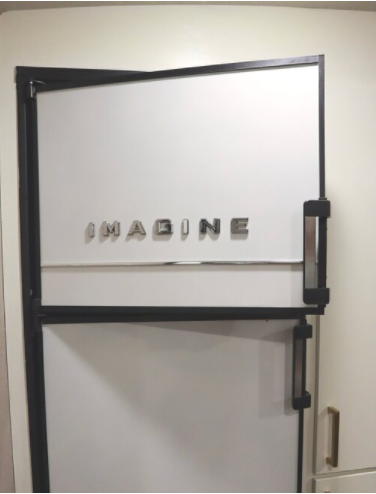
1. Clean and dry the surface of your panel door 2. Start with primer. This Rust-Oleum Universal Bonding Primer will help the actual paint adhere to the surface 3. Next, you will add your color. I decided to do white, because it would make it more complimentary to the colors I just added to our RV. But if you need color inspiration, check out this blog with some more fun ideas! I used Rust-Oleum Appliance Epoxy for this step because I wanted to attempt to recreate as much of the polished appliance surface as possible 4. You will want to seal the surface with some sort of high gloss lacquer, and I used Rust-Oleum Lacquer for this step. I allowed the surface to dry between each of these steps, which took about 20 minutes here in the Florida heat. I removed the panels, washed them and painted with all three steps in about 2 hours total. I let them dry outside in our screened tent for about 4 hours before installing them. I’m sure the recommendation is to let them set for 24 hours, but that’s just not how I roll.
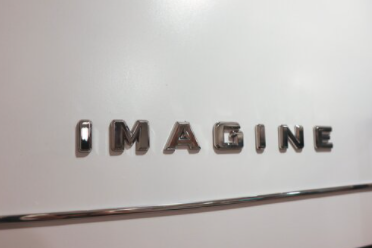
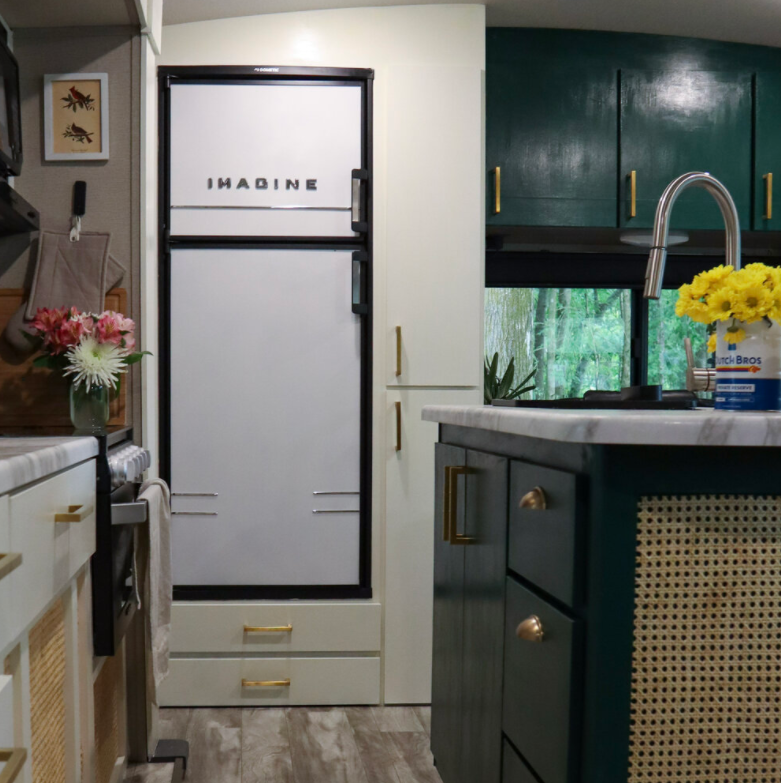
5. Add chrome! Retro refrigerators stand out for two main characteristics - their color and their chrome! I opted to add lettering to spell out I M A G I N E and then I added chrome trim details to pull it together. Be creative! I used this chrome trim and these chrome letters.
The Good: The process that I used worked well, and I have been able to wipe the exterior clean with a damp cloth
The OK: I didn’t get the “gloss" that I was looking for, which is to be expected when spray painting such a surface - so I will be sure to share how it holds up over time
This originally appeared on stairsup_handlein's blog.


